Train AI for Image Generation Tutorial
Just 5 minutes and you'll get an AI to create images in your preferred style.
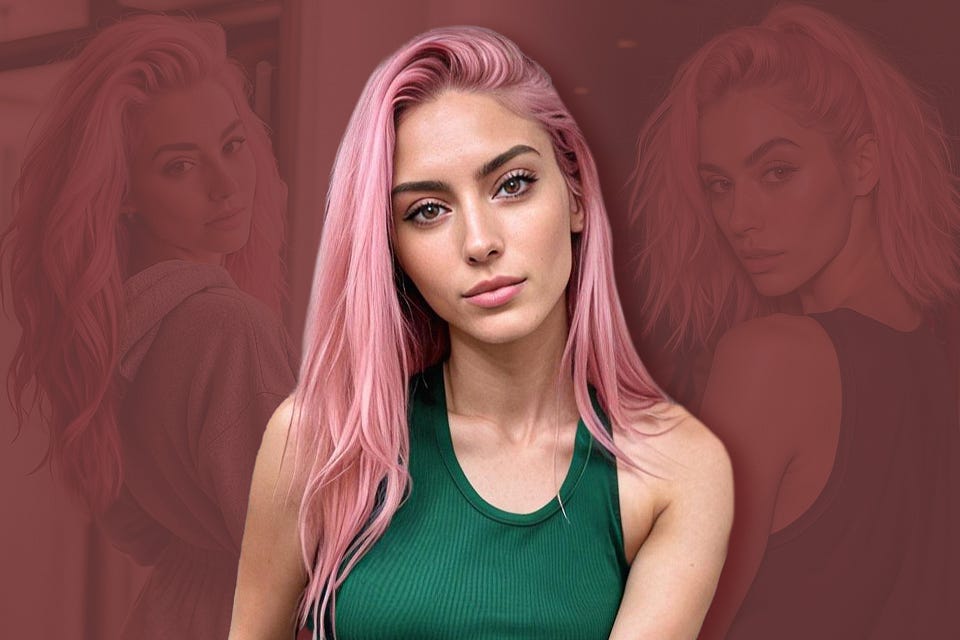
Hi! In this issue, we'll finally figure out the main problem of AI-generated images and how to fix it with just one tool and a few minutes of free time.
Coding skills are not required.
Let's go.
Keep your mailbox updated with practical knowledge & key news from the AI industry!
AI Generates Unpredictably
While AI images have gotten noticeably better in recent months (does anyone else remember that funny hand problem?), the actual models still have a significant limitation. It lies in the unpredictability of the result. Yes, you can choose the style, colors, and other parameters on some platforms. But you're unlikely to be able to create a dozen consistent images.
And it ruins the lives of so many creators. Whether designing a website, building an app, curating social media campaigns, or illustrating a children's book, the inability to create consistent visuals in the same style is bound to disrupt your workflow. Even startups using AI for product layouts face frustration when designs lack uniformity.
Endless trial and error sessions that are just wasting your time.
Sharing is caring! Refer someone who started a learning Journey in AI!
Fortunately, there is a way to regain control: train your own AI model. (To be honest, I used to be intimidated by this expression, but experience has shown me that it's not all that scary.) By creating a model customized to your specific needs, you can achieve the stylistic consistency and predictability universal AI lacks. And yes, you no longer have to spend time on prompts and credits to get the desired result.
Sometimes, you can even build a business on images of the same type.
Remember that story about The Clueless Agency and digital influencer Aitana Lopez? Through a well-trained model, the company created a fictional blogger whose social media following is still in demand. It has an active audience, sells native brand integrations, and collaborates with other influencers.
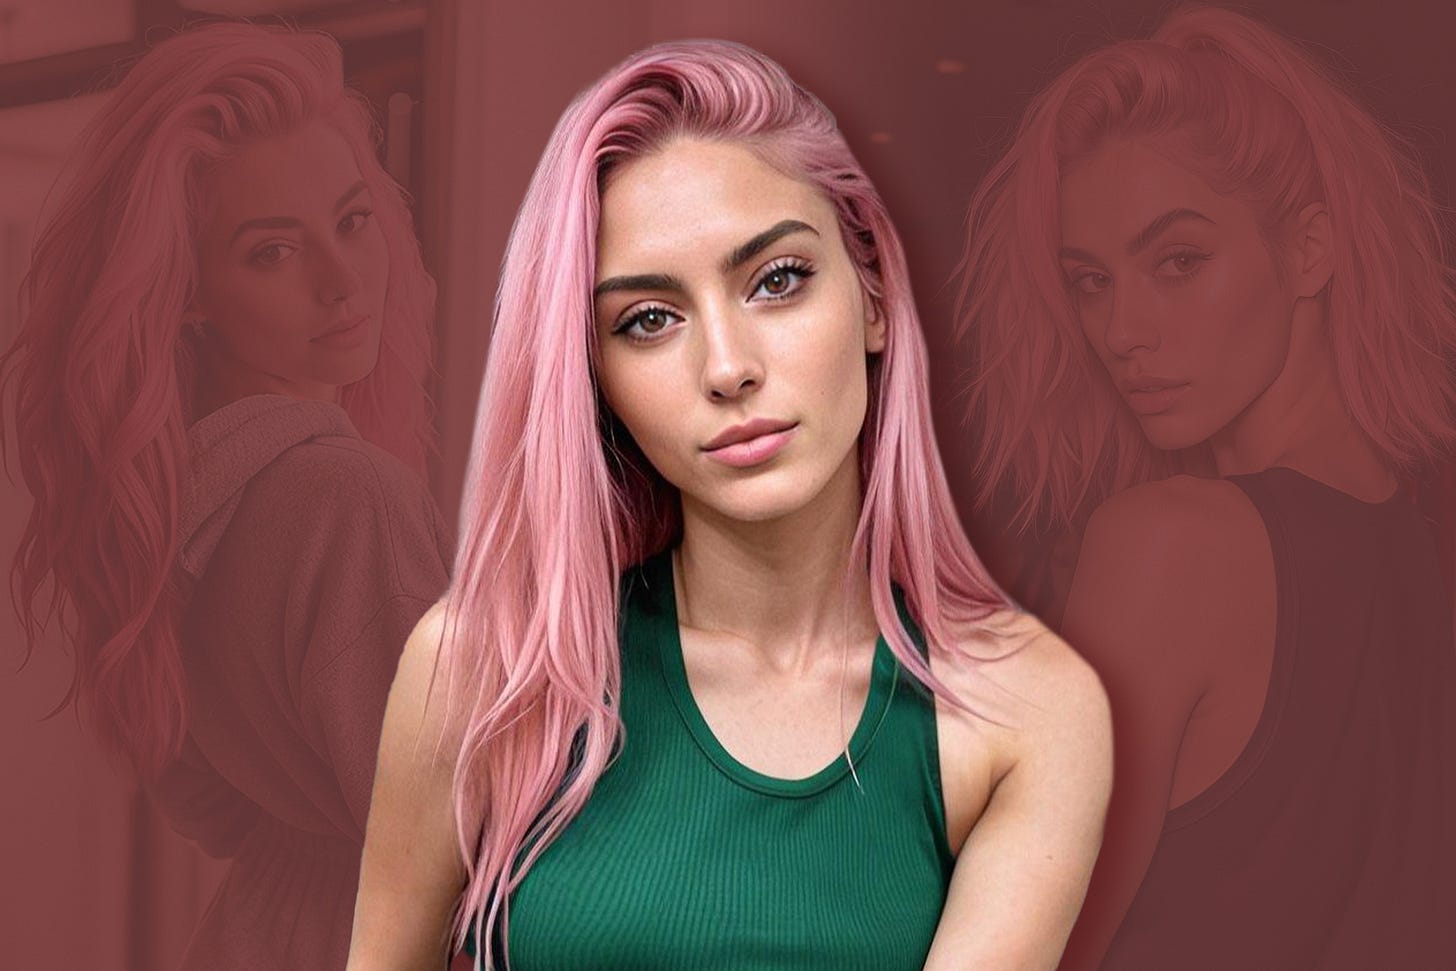
We did a post dedicated to Aitana and how agencies are creating popular characters with AI. Check it out if you missed it:
But that's not what today is about. Let's finally figure out how to train our AI model. We will need five minutes of free time, a set of suitable reference images (to show the AI what pictures you need), and just one tool.
How to Train AI for Your Style
To train the image generator, we need LoRA (Low-rank adaptation) Trainer. It's a way to adapt a large machine-learning model for specific uses without retraining the entire model. In some cases, this requires knowledge of programming languages and large computing power on a PC, and sometimes, it can be done right in the browser (that's what we'll do).
So here's our starter kit:
- CivitAI: It's an open-source platform for model training and generating AI art, mainly focusing on Stable Diffusion and Flux models. We'll use LoRA Trainer from this platform as it is the most affordable and easy solution for beginners.
Alternatively, you might want to try BasedLabs and Pixel Dojo, but I'll rely on CivitAI in this tutorial.
- A set of images in your preferred style (3 to 1000). The more you use, the more data the model will have for training.
You can use any images: people, objects or landscapes. The main thing is that they should be in the same style.
As an example, I’ll create a digital version of my fat cat Thomas.
Step 1. Sign Up and Get Started
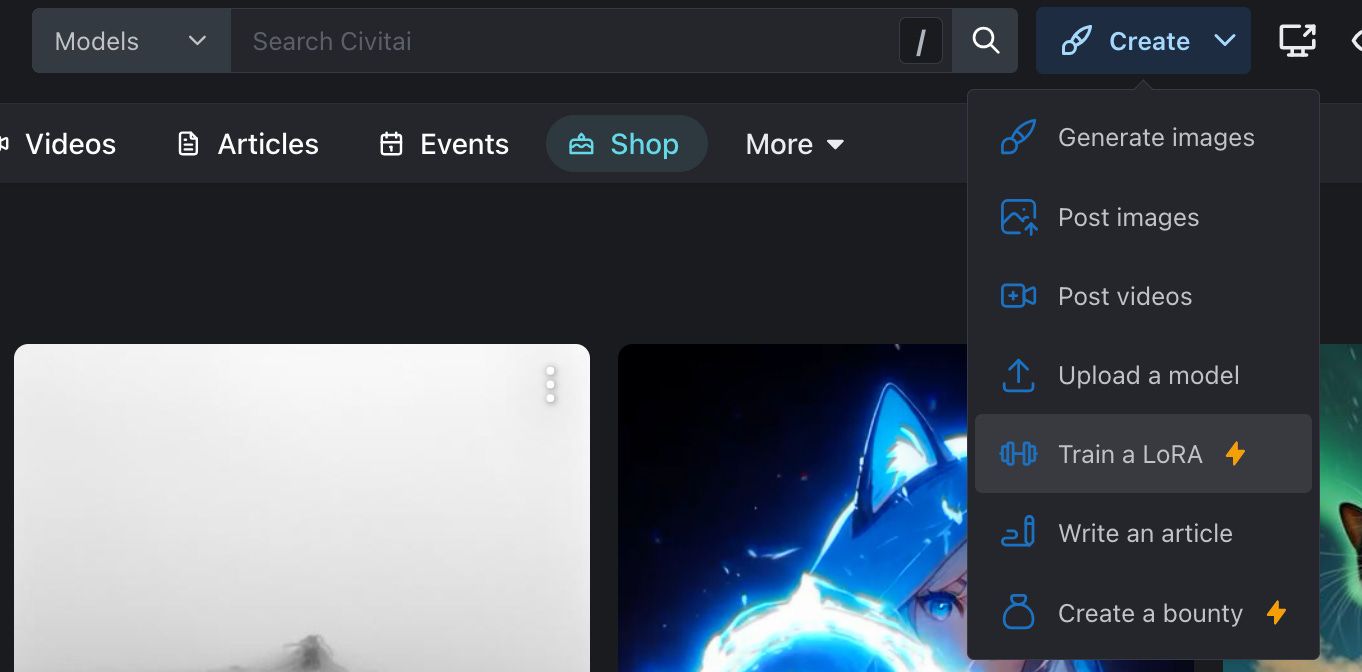
- Go to civitai.com and Sign up.
- On the homepage, click on the down arrow in the upper right corner (to the right of “Create”) and select “Train a LoRA.”
Step 2. Choose Your LoRA Type
This is where we are asked to set the basic parameters: Character, Style, or Concept.
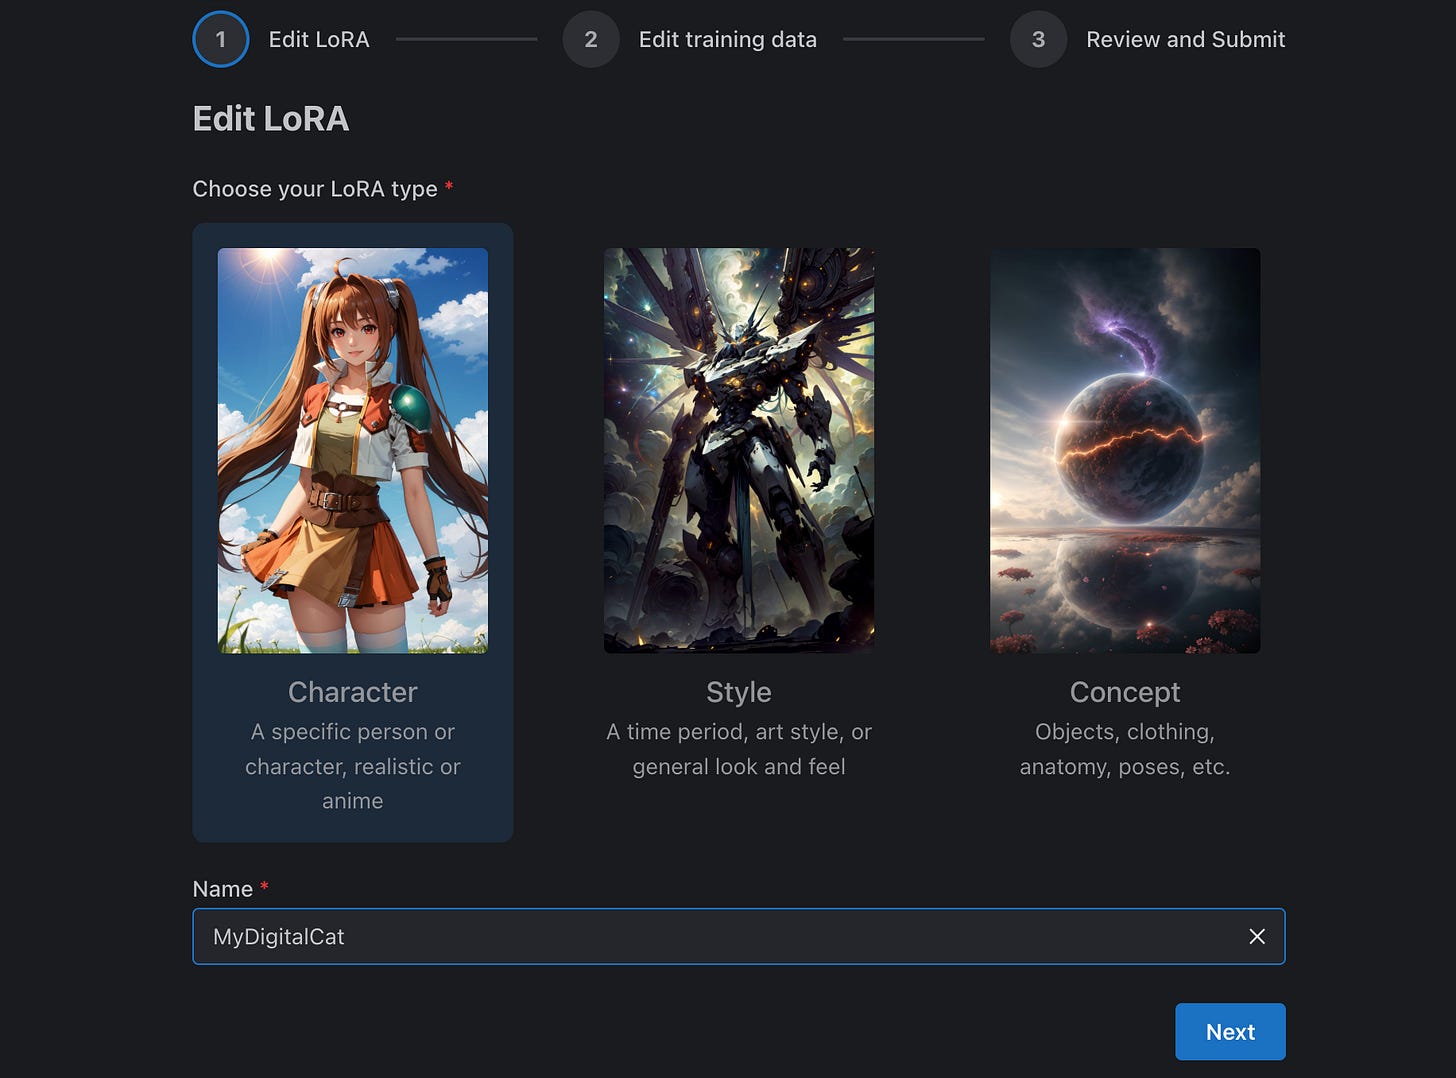
- Choose a type that you like
- Give an arbitrary name
- Click Next
What to Choose:
- Character is fine if you want to create a digital doppelganger, character, and mascot for your brand. (I chose this option.)
- Style can be chosen if you want something more abstract. For example, if you prefer a set of backgrounds, panoramas or landscapes.
- Concept will be a good choice if you want to create specific objects. For example, website design for a clothing or furniture brand.
Sharing is caring! Refer someone who started a learning Journey in AI!
Step 3. Training Data
Here, we will need the prepared images.
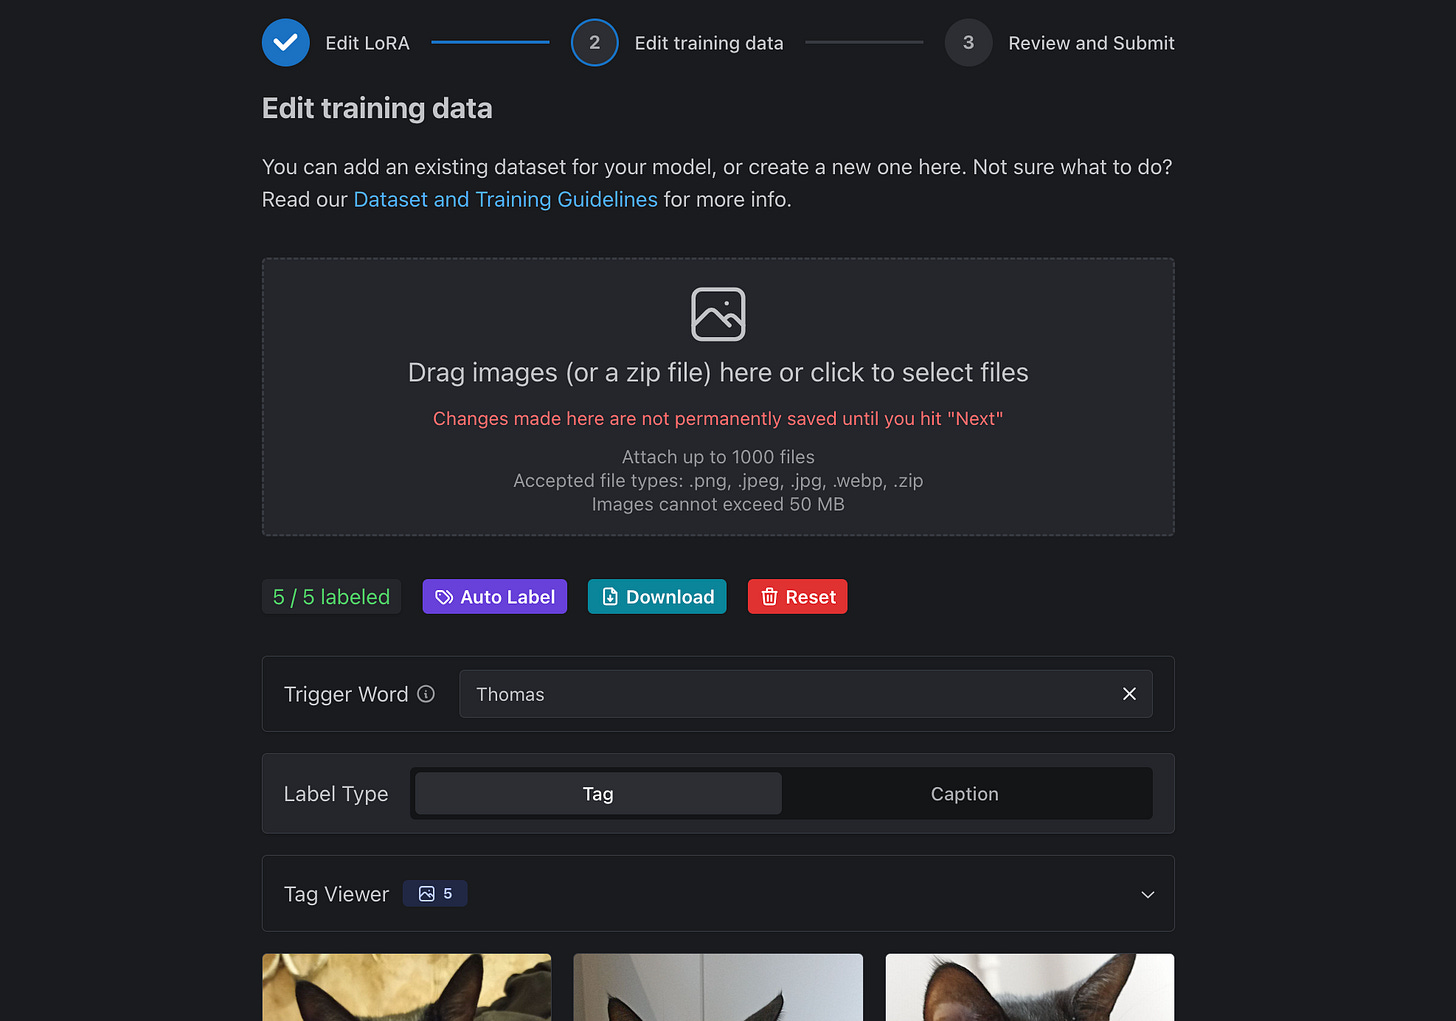
- Before uploading images, confirm an acknowledgment.
- Drag your images or a zip file into the field.
- Write Trigger Word (Every time you use this word, the AI generator will refer to all customized settings).
After that you can edit your captions manually or use Auto-Labeling/Captioning feature. These are the explanations for each image. There are two types of captions available for training LoRA: tag-based and caption-based. You can train models without them, but captions allow you to achieve more accuracy.
Alternatively, if you are lazy, (like me) use the Auto Label feature.
Once you're done adding captions (either manually or using the Auto Tagging feature), there's an option to review them and make changes.
- When you're done with the tags, click Next.
Step 4. Base Model for Training
In this step, you can view the details and select a model for training.
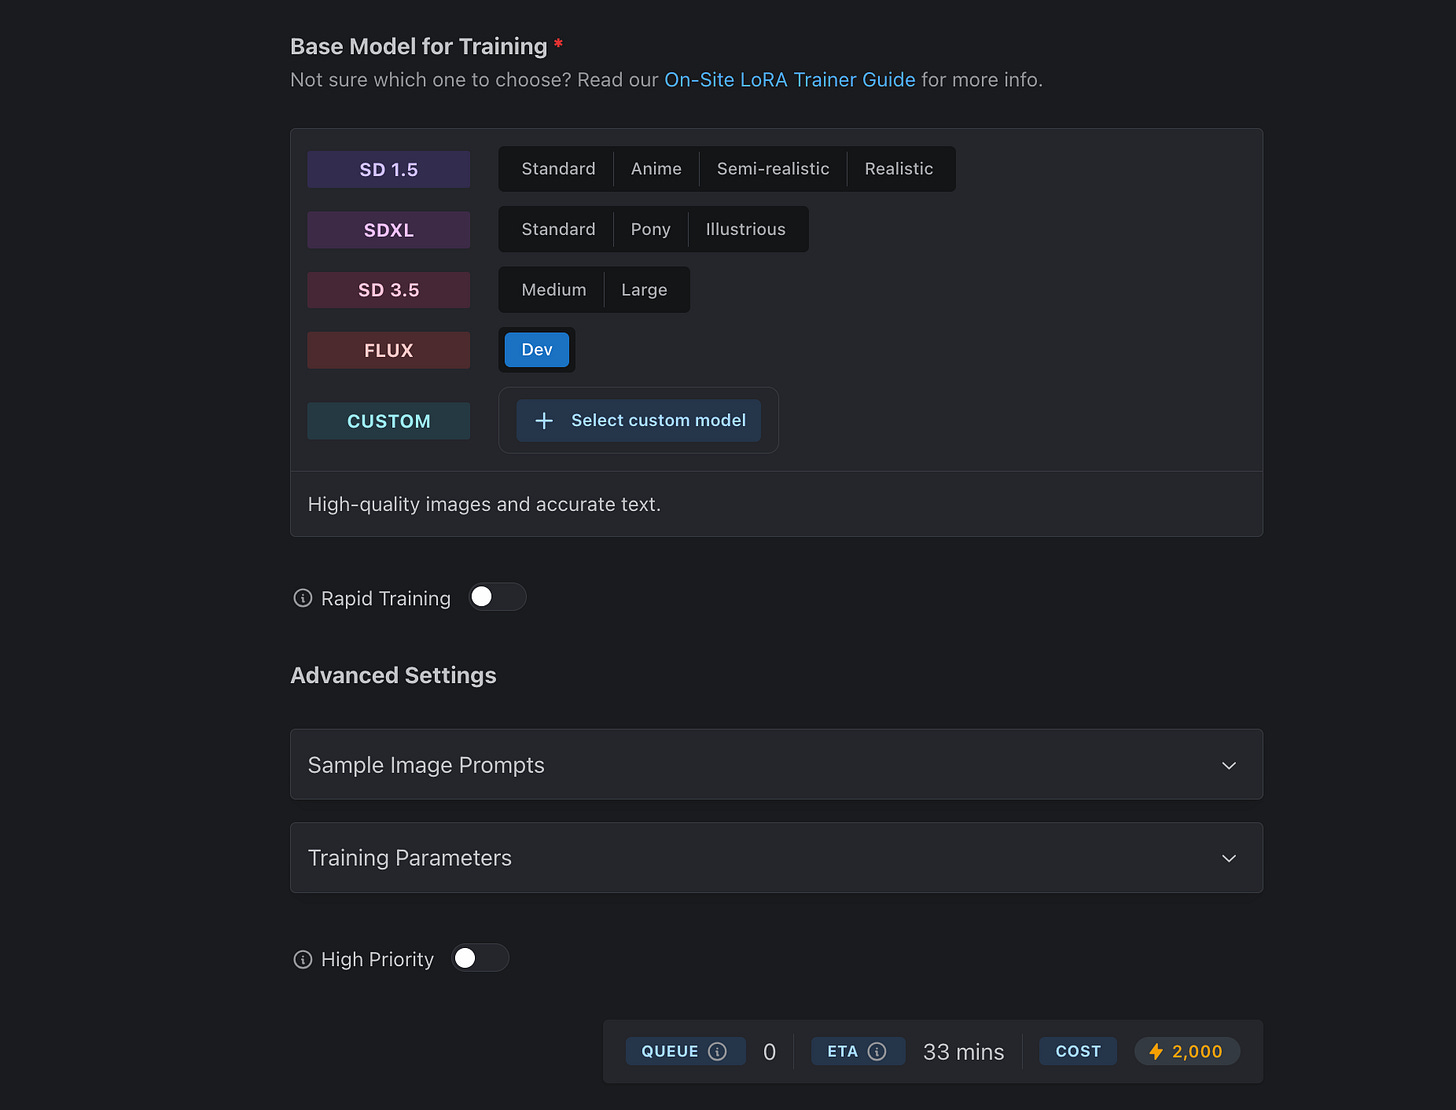
- Choose the model you like best.
- (Optional) Open Advanced Settings and customize the details if necessary.
- Click Submit.
CivitAI now supports four pre-trained models (+ custom option):
Stable Diffusion 1.5 is the earliest and most versatile model. It supports many styles but loses out to the other variants in terms of quality.
Stable Diffusion XL - the largest model, geared towards professional images. Slightly slower than other options.
Stable Diffusion 3.5 - A model that comes in two versions, including a large model for professionals and a medium model for faster generation. While it can generate a variety of styles, it is limited to a resolution of about 1 megapixel.
The Flux is a model focused on high-resolution creation, capable of producing images up to 2K. It is faster than previous models and handles details well, making it suitable for commercial projects that need quality visuals. (my choice)
Step 5. Wait a Bit
After clicking Submit, you will be directed to your Account page, specifically the Training tab. Here, you’ll see all trained or currently training LoRAs and can check the status for updates.
- Just wait a bit. You'll receive an email when the LoRA is ready to test.
And you can also monitor real-time status by clicking on the LoRA name in the Training tab.
Step 6. (Finally) Test
When you receive an email confirming your model is ready, you can visit CivitAI.
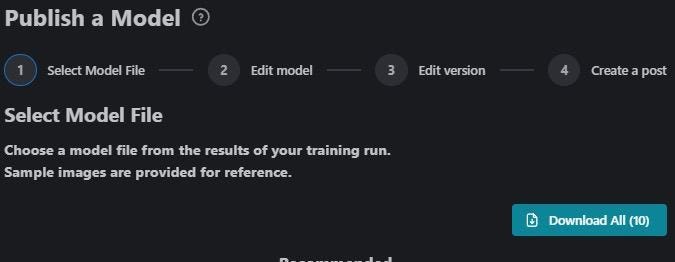
And now we have two paths:
- Publish the model and start generating immediately.
- Download all the data and run on a supported API.
In the first case, the model will go public and other users will be able to use it in their projects. And in the second case you can use it as you see fit (up to running it on local software).
The creators of CivitAI admit that mandatory publication discourages some users and promise to solve this problem in the future.
Ah, yes, the result. I chose to publish the model. And this is what I got.
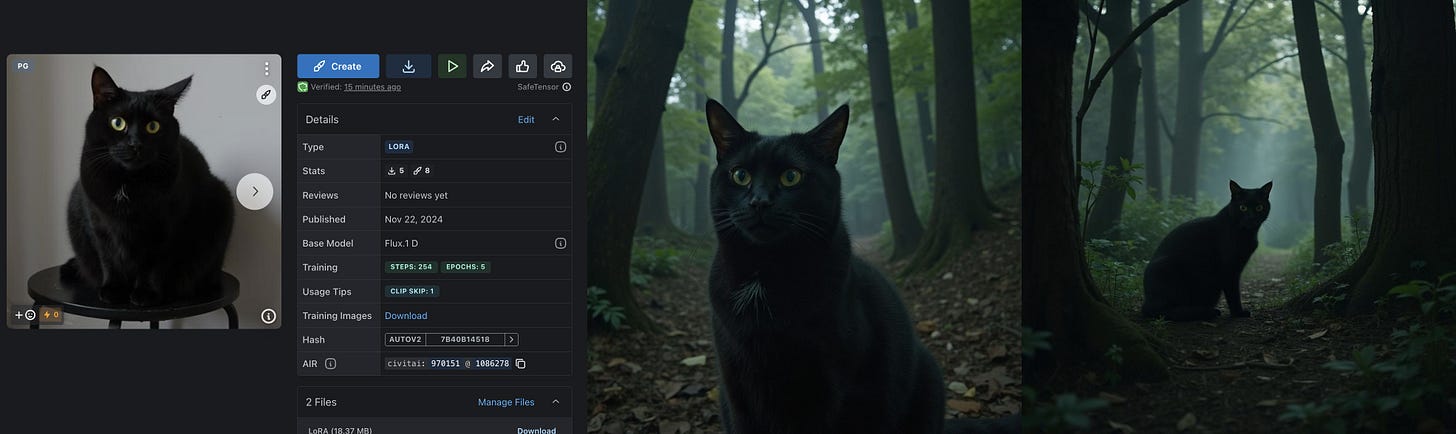
It's not thick enough, but that can be solved with more data.
As you can see, I got a digitized copy of my cat that can be used in different contexts. Regardless of other settings, you will get the image you want if you choose Trigger Word (in my case, “Thomas”).
To do the same:
- Open your model through your profile (or search for it)
- Click Run Model
- Enter the prompt (don't forget the Trigger Word)
- Wait for the generation to complete.
You are great!
Share this edition with your friends!
This article was first published in the Creators AI newsletter. View the original edition.